

There is nothing quite like a towering, dense slice of classic New York-style dessert. If you have ever been intimidated by baking one from scratch because you are terrified of pulling it out of the oven only to find a massive, canyon-like crack down the middle, you are in the right place.
Baking the perfect filling is more about chemistry and patience than it is about advanced culinary skills. The tragic cracked top that haunts so many home bakers is almost entirely preventable if you follow a few strict, non-negotiable rules regarding temperature control.
Today, we are stripping away the myths and focusing purely on the technique. We are going to build a rich, velvety batter that bakes up perfectly level and flawless every single time.
The Science of a Crack-Free Cheesecake
The single most important rule when making a cheesecake is that every single ingredient—especially the cream cheese and the eggs—must be at room temperature before you even think about turning on your mixer. When your cream cheese is cold, it requires aggressive mixing to break down the lumps. Aggressive mixing incorporates air into the batter.
Air is the enemy. As the batter bakes, those trapped air bubbles expand and rise to the surface. When they burst, they cause the structure of the cake to fracture, resulting in those dreaded cracks. By starting with room-temperature ingredients, they blend together effortlessly on a low speed, keeping the batter dense and air-free.
The second pillar of crack prevention is the bain-marie, or water bath. A classic New York recipe relies heavily on eggs for structure, making it essentially a baked custard. Custards despise direct, dry heat. By submerging your wrapped springform pan in an inch of boiling water, you create a humid, gentle environment that cooks the eggs slowly and evenly, preventing the edges from over-baking and pulling away from the pan while the center finishes cooking.
Essential Ingredients and the Cooling Process
A true New York-style slice is aggressively heavy, rich, and slightly tangy. To achieve this, you need the right components, and you must respect the cooling process.
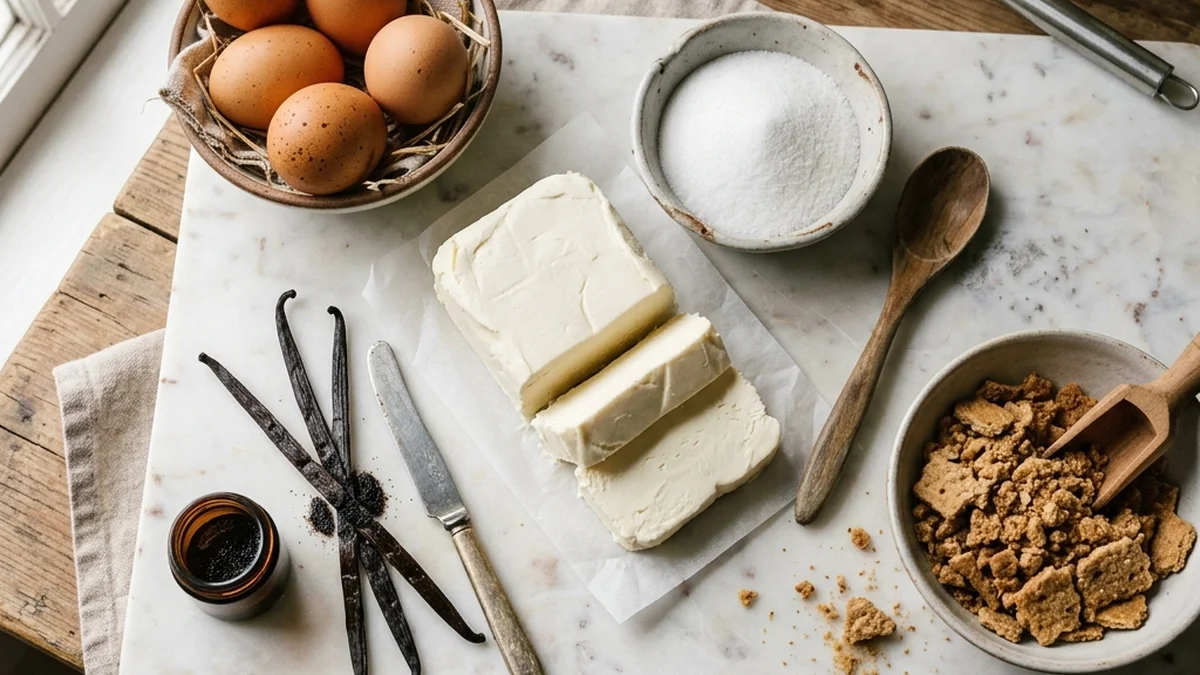
- Full-Fat Cream Cheese: This is not the time to diet. You must use full-fat cream cheese in the brick form, never the whipped tub variety.
- Sour Cream: This breaks up the heavy cream cheese texture and provides the signature tangy finish that cuts through the sweetness.
- The Graham Cracker Crust: A simple mixture of finely crushed graham crackers, a pinch of salt, a tablespoon of sugar, and melted butter. Pre-bake it for 10 minutes to ensure it stays crisp under the heavy batter.
- The Slow Cool Down: Once the baking time is up, the center should still have a slight jiggle. Turn the oven completely off, crack the oven door open about an inch, and leave the cake inside for a full hour. This gradual drop in temperature prevents thermal shock, which is another major cause of surface cracking.
Assembling and Baking Your Masterpiece
Start by preparing your 9-inch springform pan. Because it will be sitting in water, you must wrap the outside tightly in three layers of heavy-duty aluminum foil. Do not skimp on the foil; a waterlogged crust will ruin the entire dessert.
Press your graham cracker mixture firmly into the bottom of the pan and about an inch up the sides. Bake it at 350°F (175°C) for 10 minutes, then let it cool completely while you prepare the filling.
In a stand mixer fitted with the paddle attachment, beat the softened cream cheese and sugar on medium-low speed just until smooth. Scrape down the bowl frequently. Add the sour cream and vanilla extract, mixing until combined. Finally, add the room-temperature eggs one at a time, mixing on the lowest possible speed until just incorporated. Remember, do not overmix!
Final Steps to Perfection
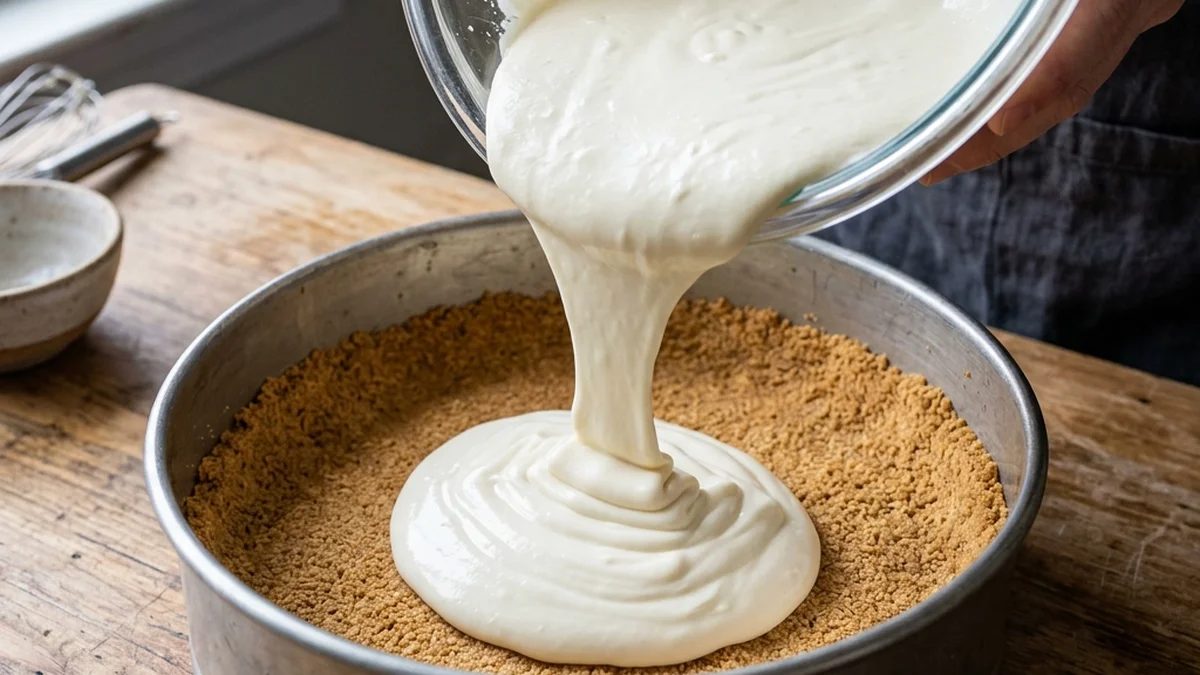
Pour the velvety batter over the cooled crust. Smooth the top with a spatula, then tap the pan firmly on the counter a few times to force any hidden air bubbles to the surface.
Place the foil-wrapped pan into a larger roasting pan, and pour boiling water into the roasting pan until it reaches about an inch up the sides of the springform pan. Carefully transfer it to a 325°F (160°C) oven and bake for 1 hour and 15 minutes.
After the hour in the cooling oven, remove the pan from the water bath, carefully peel off the foil, and let it cool completely on a wire rack. Finally, cover it loosely and chill it in the refrigerator for at least 8 hours, though overnight is best. When you finally release the springform ring, you will be rewarded with a towering, perfectly smooth, crack-free masterpiece.
Looking for another incredible dessert? Try our Authentic Italian Tiramisu.
")
")
