

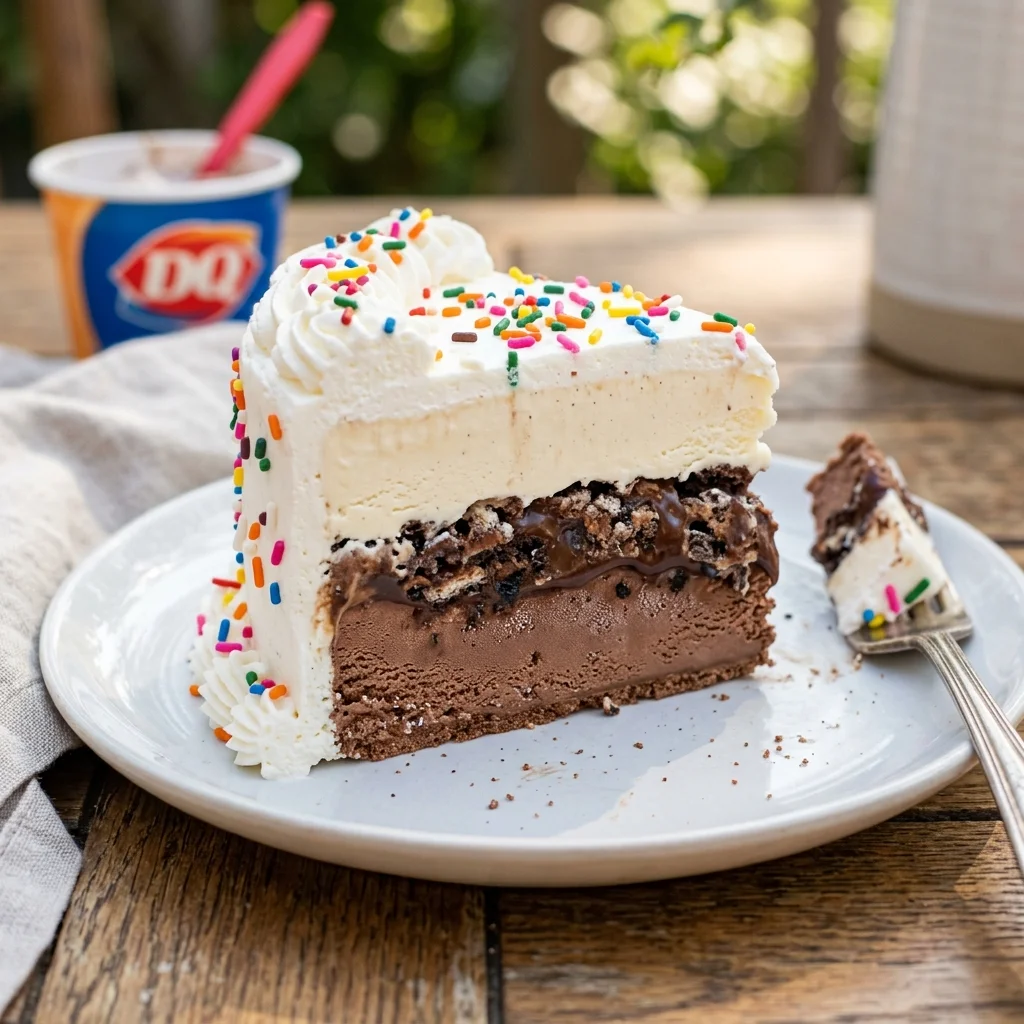
Do you remember begging your parents for a Dairy Queen ice cream cake every single year for your birthday? I definitely do. It wasn’t even about the cake itself. It was entirely about that thick, crunchy, chocolatey layer hidden in the middle. The “fudge crunch.” You know exactly what I’m talking about. What if I told you that making a copycat Dairy Queen ice cream cake recipe at home is dangerously easy?
You don’t need fancy equipment. You don’t even need to bake anything. This is a true assembly job that results in a towering, gorgeous, nostalgic masterpiece. And the best part? We are making that crunchy fudge layer from scratch, and it’s going to taste ten times better than the drive-thru version.
Why This Dairy Queen Ice Cream Cake Recipe Actually Works
The biggest mistake people make when building an ice cream cake is letting it all turn into soup. Patience is the secret ingredient here. By freezing the cake between each layer, we get those distinct, razor-sharp lines of vanilla and chocolate.
- The Ice Cream: We are using store-bought ice cream. Seriously. Buy your favorite high-quality vanilla and chocolate. Let it soften on the counter for exactly 15 minutes before you try to spread it. If it’s too soft, it bleeds. If it’s too hard, you’ll destroy the crunch layer underneath.
- The Crunch Layer: This is the soul of the cake. Crushed chocolate sandwich cookies mixed with hot fudge and a tiny bit of melted butter. The butter is crucial because it freezes solid, keeping the cookie pieces incredibly crunchy instead of turning to mush.
- The Frosting: You can absolutely use store-bought whipped topping (like Cool Whip) if you want that authentic fast-food texture. But if you want to elevate it, homemade whipped cream stabilized with powdered sugar is the move.
Ingredients You’ll Need
You probably already have most of this stuff sitting in your pantry.
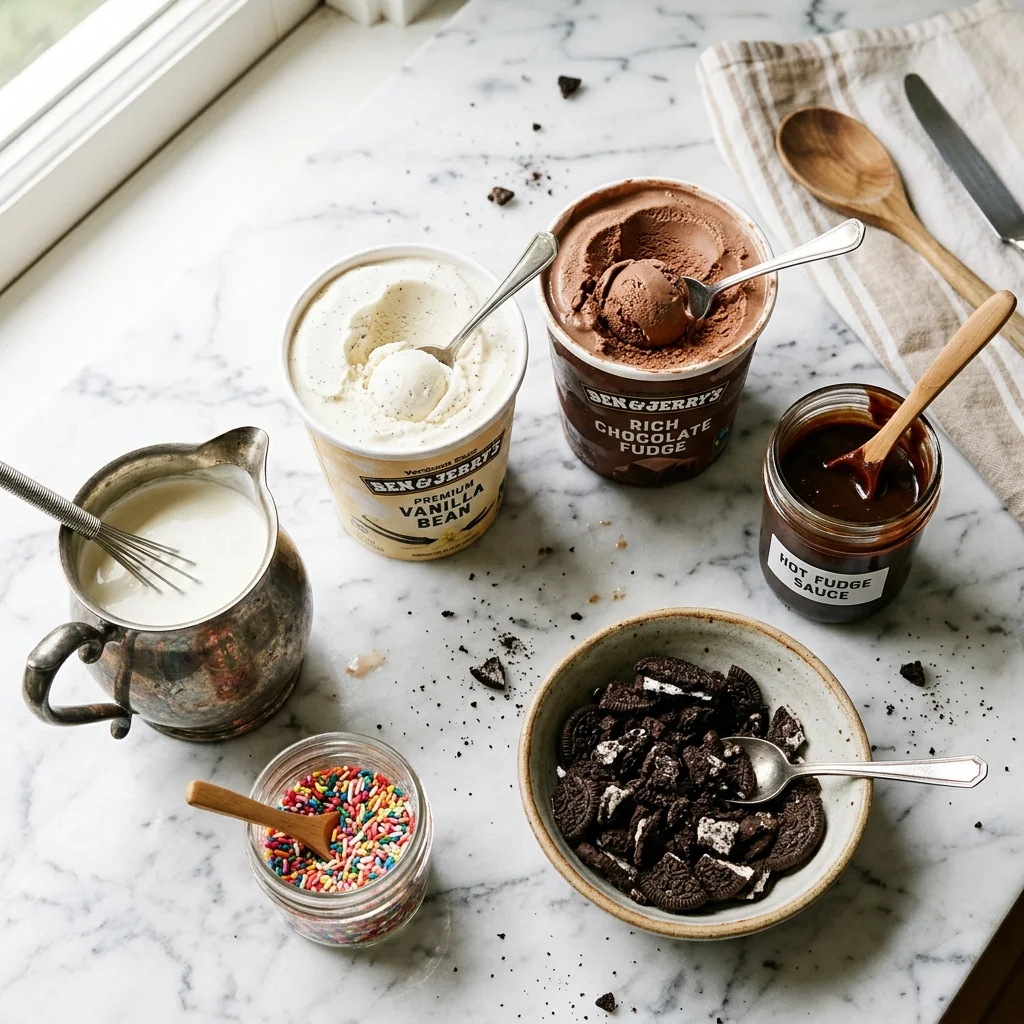
- Vanilla Ice Cream (1.5 Quarts): Get the good stuff.
- Chocolate Ice Cream (1.5 Quarts): Again, quality matters when there are only a few ingredients.
- Chocolate Sandwich Cookies (25 cookies): You know the brand. Crush them up.
- Hot Fudge Topping (1 jar, 11 oz): Thick hot fudge, not the thin chocolate syrup you use for milk.
- Unsalted Butter (3 tbsp): Melted. This locks in the crunch.
- Heavy Whipping Cream (2 cups): For the frosting. (Fun fact: If you’re ever curious about exactly what goes into commercial dairy, the history of ice cream cakes is surprisingly fascinating).
- Powdered Sugar & Vanilla: To sweeten the whipped cream.
- Rainbow Sprinkles: Mandatory. Don’t skip them.
How to Assemble the Cake (Step-by-Step)
1. Prep the Springform Pan
You need a 9-inch springform pan. Line the bottom with parchment paper. This is not optional unless you want to serve the cake directly off the metal pan base (which honestly, I have done in moments of desperation). If you don’t have a springform, a regular pan lined with plastic wrap works, but it’s much harder to pull out cleanly.
2. The Vanilla Layer
Take your vanilla ice cream out of the freezer. Give it 15 minutes. It should be spreadable, like thick frosting. Scoop it all into the bottom of the pan and smooth it out perfectly flat with a rubber spatula. Stick the whole pan into the freezer for at least an hour. It needs to be rock solid.
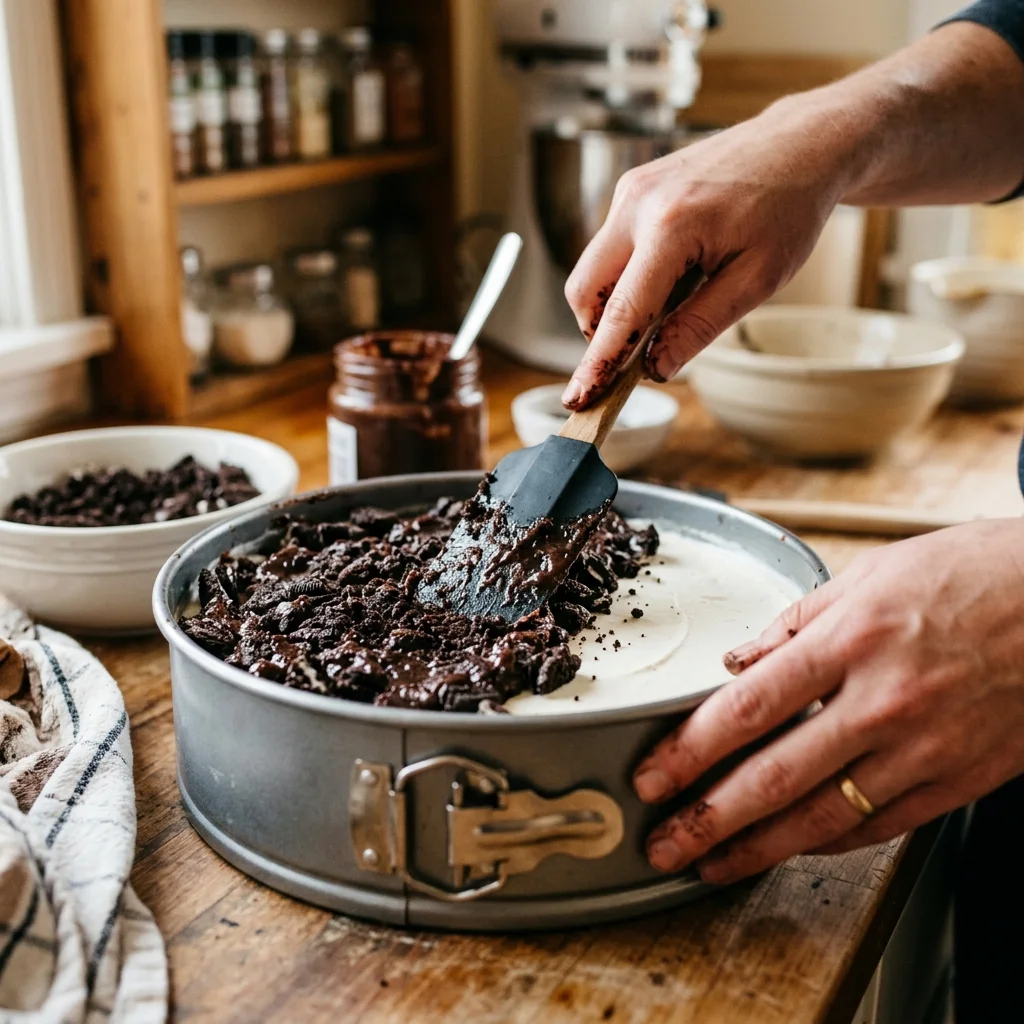
3. Build the Ultimate Fudge Crunch
While the vanilla layer freezes, grab a medium bowl. Toss in your crushed chocolate cookies. Pour in the melted butter and stir until it looks like wet sand. Now, lightly warm your hot fudge just enough so it pours, but do not make it boiling hot. Pour it over the frozen vanilla layer, spreading it quickly. Immediately sprinkle your buttery cookie crumbs over the fudge and press them down gently into the chocolate. Freeze this for another hour.
4. The Chocolate Layer
Soften your chocolate ice cream. Spread it gently over the completely frozen crunch layer. You have to be gentle here so you don’t drag the crumbs into the chocolate ice cream. Smooth the top. Wrap the entire pan tightly in plastic wrap and freeze it overnight. Yes, overnight. Do not rush this part.
5. Frosting and Decorating
The next day, run a knife around the edge of the springform pan to loosen it, and pop the collar off. Whip your heavy cream, powdered sugar, and vanilla until stiff peaks form. Frost the entire outside of the cake. Pipe a border around the top and aggressively coat the edges with rainbow sprinkles. Freeze it one last time for about an hour so the frosting sets up.
How to Slice It Like a Pro
Want those perfect, clean slices that show off the layers? Run a large chef’s knife under very hot tap water. Wipe it completely dry with a towel, and make your cut. Repeat the hot water and drying process for every single slice. It melts right through the frozen cake like butter.
If you love layered frozen desserts like this, you have to check out our Cassata Ice Cream Recipe or use leftover cookies for our Giant Oreo Cake.

")
