Few desserts capture the imagination quite like red velvet. With its striking crimson crumb, subtle whisper of cocoa, and signature buttermilk tang, it has long stood as an icon of celebratory baking. But when you transform that Southern staple into a spiraled Swiss roll packed with crushed chocolate sandwich cookies and silky cream cheese frosting, you get an absolute showstopper.
This dessert brings together two beloved flavor worlds: the nostalgic cocoa depth of authentic red velvet and the irresistible crunch of cookies and cream. Best of all, with a few fundamental bakery techniques, rolling this vivid sponge into a seamless, crack-free pinwheel is completely foolproof.
Why This Red Velvet Cake Roll Recipe Never Tears or Cracks
Traditional red velvet layer cakes rely heavily on creamed butter and baking soda reactions to achieve a tender crumb. However, high-fat butter cakes become rigid as they cool, leading to devastating tears if rolled. Our cake roll sponge uses an airy genoise-chiffon approach that guarantees elasticity.
By whipping whole eggs and sugar to the voluminous ribbon stage and stabilizing the batter with a touch of neutral vegetable oil, the sponge retains its moisture and pliability straight from the oven through to final slicing.
The Science of Cocoa and Acid in a Red Velvet Cake Roll Sponge
Creating authentic red velvet is not merely about dumping red food dye into chocolate batter. It is a precise biochemical interaction:
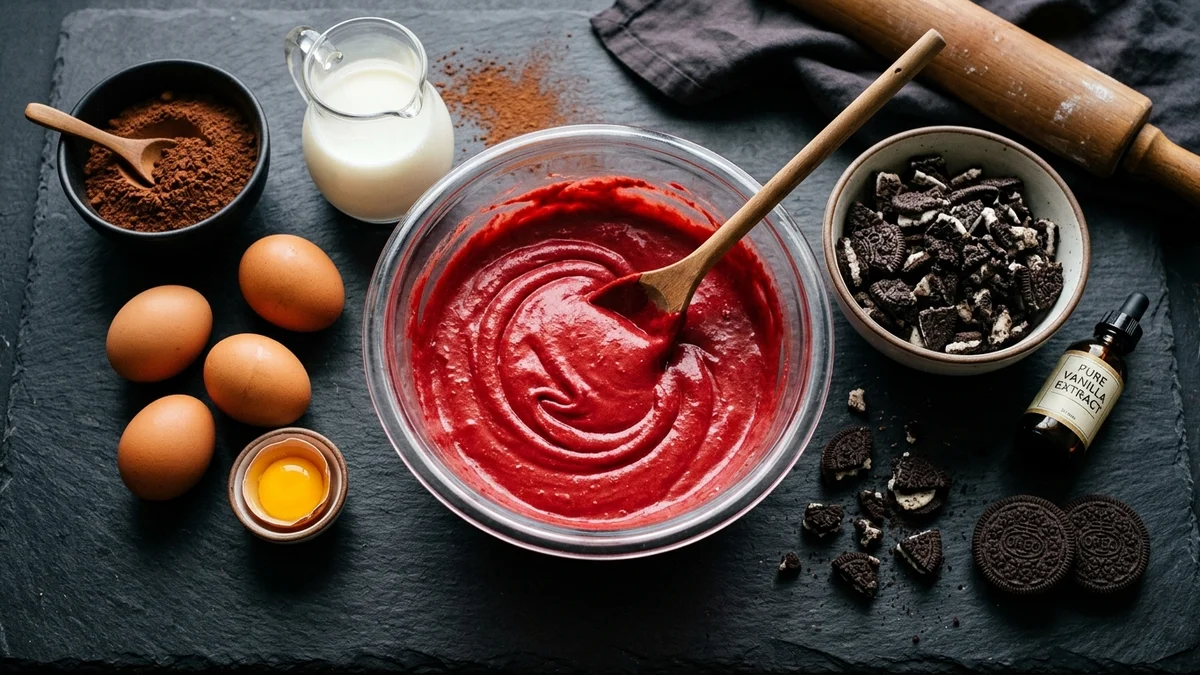
- Natural Unsweetened Cocoa Powder: Unlike dark Dutch-processed cocoa—which has been alkalized—natural cocoa is mildly acidic. This acidity reacts with buttermilk and vinegar to tenderize the gluten strands, producing that trademark velvety texture that melts on the palate.
- Real Cultured Buttermilk: The lactic acid in cultured buttermilk breaks down protein networks and imparts that beloved gentle tang that cuts through sweet frosting.
- The Pre-Roll Memory Technique: Rolling the sponge inside a cocoa-dusted tea towel while it is piping hot from the oven trains the delicate crumb to cool in a spiral shape. As the egg proteins set, they adopt the curved structure naturally, preventing tension when unrolled and filled.
Step-by-Step Baking and Rolling Instructions
Follow these foolproof bakery guidelines to ensure a flawless presentation:
1. Bake to Springy Perfection
Line a standard 10×15-inch jelly roll pan with parchment paper and mist lightly with cooking spray. Spread your red velvet batter evenly across the pan using an offset spatula. Bake at 350°F (175°C) for 12 to 14 minutes. The cake is done when the surface springs back immediately after a gentle finger press. Do not overbake, as dry edges will crack.
2. The Hot-Towel Roll
Immediately upon pulling the pan from the oven, invert the hot sponge onto a clean cotton kitchen towel dusted generously with cocoa powder or powdered sugar. Carefully peel off the hot parchment backing. Starting from the short end, roll the warm sponge up tightly inside the towel. Set the rolled towel on a wire rack and allow it to cool completely to room temperature (about 60 to 75 minutes).
3. Whipping the Oreo Cream Cheese Frosting
Beat eight ounces of full-fat, brick cream cheese with a half-cup of softened butter, two cups of powdered sugar, and a teaspoon of pure vanilla extract until fluffy and smooth. Crush twelve Oreo cookies into coarse, pebble-sized pieces and gently fold them into the frosting. Keeping the cookie pieces slightly coarse gives you that dramatic cookies-and-cream cross-section.
4. Assembly, Chill, and Garnish
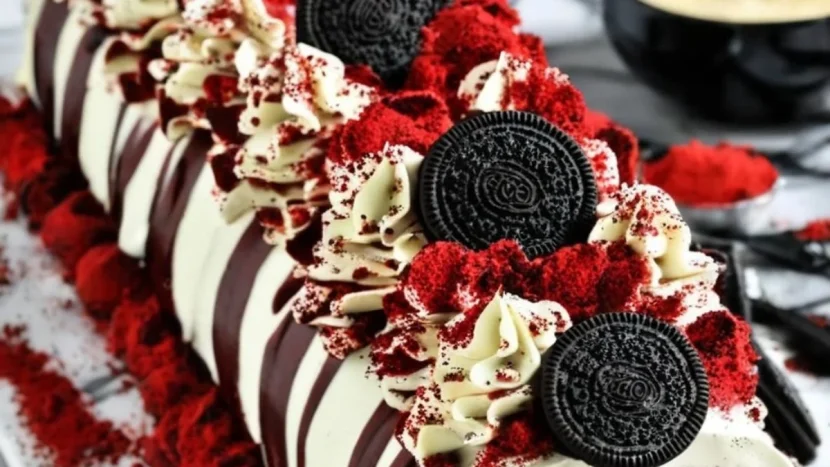
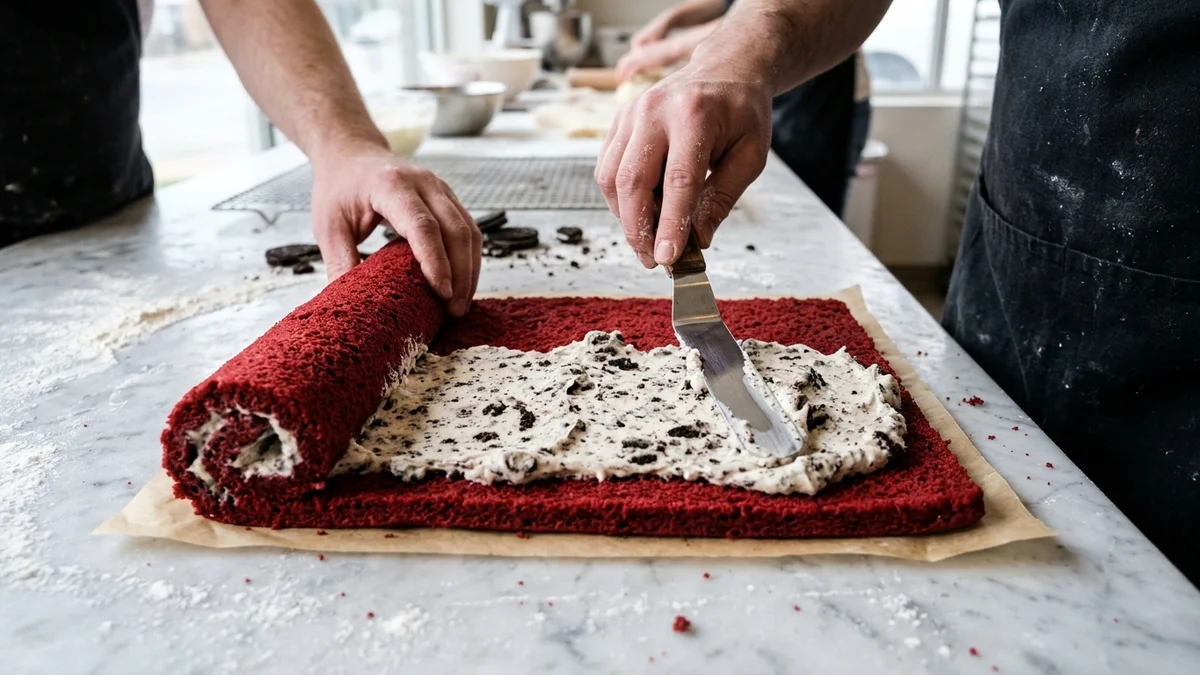
Carefully unroll the cooled sponge. Spread the Oreo cream cheese filling evenly across the cake, leaving a half-inch border around all four edges. Re-roll the sponge gently without the towel. Wrap the assembled roll tightly in plastic wrap and chill in the refrigerator for at least two hours to allow the filling to firm up. Before serving, dust the top with powdered sugar or pipe decorative rosettes of cream cheese topped with mini Oreos.
Serving and Dessert Table Inspiration
For pristine, bakery-grade presentation when serving:
- Slicing Technique: Use a sharp, long serrated chef knife warmed under hot running water. Wipe the blade clean between every single cut to keep the stark contrast between the bright crimson cake and white Oreo filling razor sharp.
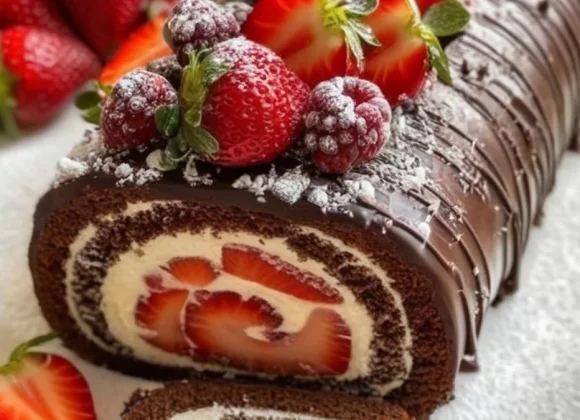
- Explore More Showstopping Cakes: If you are passionate about elegant rolled desserts, try our glossy Chocolate Covered Strawberry Roll Cake, or explore baking history with our guide to the Origin of German Chocolate Cake. And for doughnut lovers, you cannot miss our Strawberry Cheesecake Stuffed Donuts!
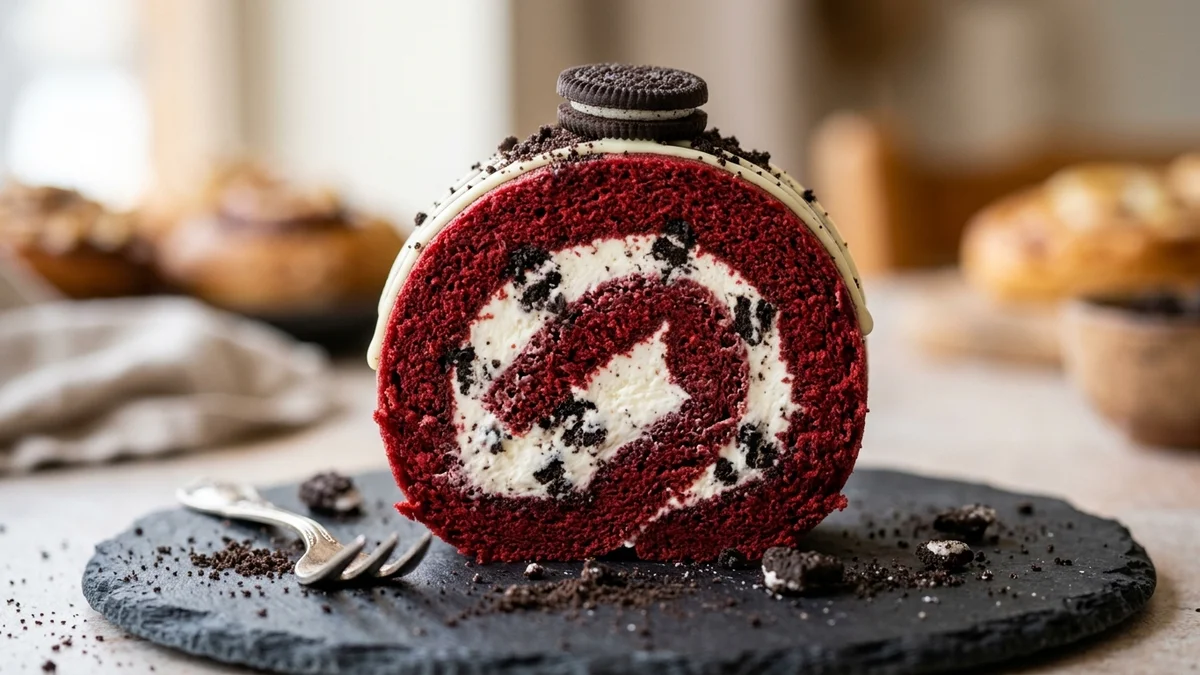
Slice, serve, and watch your dessert table light up with admiration for this spectacular red velvet masterpiece!