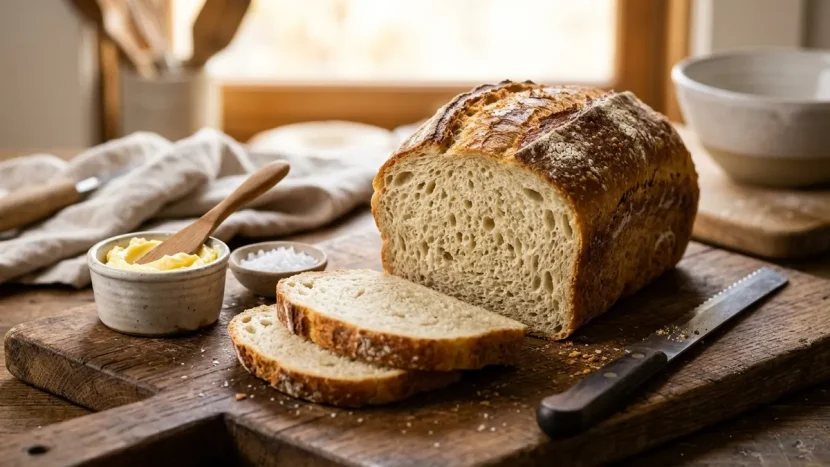
If you have ever pulled a loaf of homemade wheat-free bread out of the oven only to find a dense, gummy brick that crumbles the moment your knife touches it, trust me—I have stood at that exact same kitchen counter in frustration. After testing over forty variations of starches, whole-grain flours, and plant-based binders in my home kitchen, I finally cracked the code on an easy gluten free bread recipe that bakes up with a crackly golden crust and a pillowy-soft interior you can actually fold in half for a sandwich without toasting first.
The secret isn’t buying an expensive, mysterious box mix loaded with preservatives. Instead, it comes down to understanding how hydration and natural hydrocolloids—specifically blonde psyllium husk and xanthan gum—mimic the stretchy protein network of wheat gluten. Whether you are navigating celiac disease, a strict wheat allergy, or simply baking for someone you love, this loaf will bring back the pure joy of warm, buttered bread fresh from the oven.
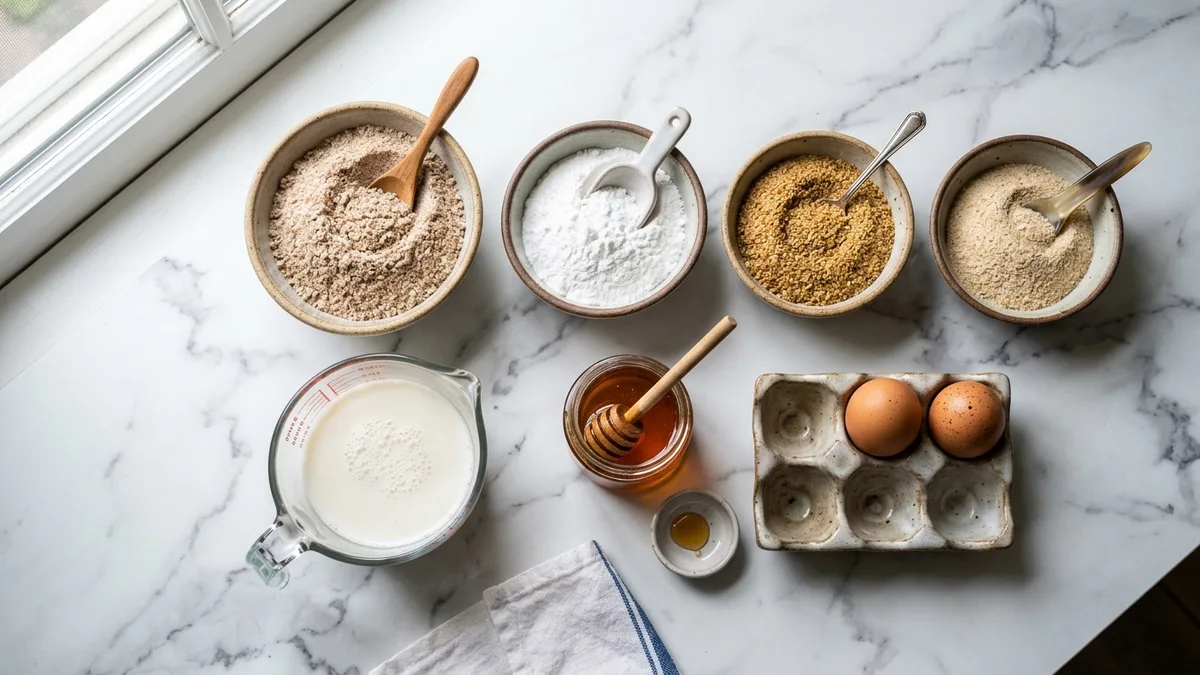
Why This Easy Wheat-Free Gluten Free Bread Recipe Actually Works
Traditional bread relies on glutenins and gliadins in wheat flour to trap carbon dioxide bubbles released by yeast. When you remove wheat, rye, and barley, your batter loses its structural scaffolding. Without the right balance of protein, starch, and fiber, the gas escapes through the top of the loaf, leaving a sunken center and a wet, pasty bottom layer.
The Science Behind a Soft and Crusty Gluten Free Bread Recipe
To build a foolproof gluten free bread recipe that behaves like real artisan dough, we use a three-part structural matrix:
- Fine Brown Rice Flour & White Sorghum Flour: Unlike gritty stone-ground rice flours of the past, superfine brown rice flour pairs with sweet, mild sorghum flour to provide structure, B-vitamins, and an authentic wheat-like flavor profile without heaviness.
- Tapioca Starch & Potato Starch: These two tuber starches gelatinize at different oven temperatures. Tapioca starch creates chewiness and elasticity in the crumb, while potato starch locks in moisture so the loaf stays soft for three full days on the counter.
- Whole Blonde Psyllium Husk Gel: When whisked into warm water, psyllium husk forms a clear, viscoelastic gel that allows you to shape and score the loaf just like wheat dough. Always choose blonde (light) psyllium powder so your bread doesn’t turn purple-gray!
- High Hydration & Steam Baking: Wheat-free flours absorb significantly more liquid than all-purpose wheat flour. We hydrate this dough at nearly 92% liquid-to-flour by weight, which turns into steam in the oven and creates that irresistible blistered crust.
If you love effortless one-bowl morning baking, you should also check out our Ultimate Moist One-Bowl Banana Bread or pair a thick toasted slice of this loaf with our Classic Chicken Cobb Salad for a complete midday meal.
Essential Ingredients & Smart Substitutions
Before you preheat your oven, pull out a digital kitchen scale. Measuring flour by volume in gluten-free baking is the number one reason loaves turn out dry, as a “cup” of tapioca starch can vary by up to 35 grams depending on how tightly it settles in the bag.
- 200g Fine Brown Rice Flour (about 1 ½ cups): Provides the backbone of the loaf.
- 100g Sweet White Sorghum Flour (about ¾ cup): Adds a subtle, buttery sweetness and tenderizes the crumb. (You can substitute certified gluten-free oat flour by weight if tolerated.)
- 100g Tapioca Starch (about ¾ cup + 2 tbsp): Essential for stretch, elasticity, and golden crust browning.
- 50g Potato Starch (about ⅓ cup): Note that this is potato starch, not potato flour!
- 18g Whole Blonde Psyllium Husk (about 3 tablespoons): Acts as our primary wheat-free binder.
- 1 teaspoon Xanthan Gum: Works synergistically with psyllium to prevent crumbling when sliced thin.
- 9g Instant Yeast (1 standard ¼-oz packet or 2 ¼ teaspoons): Gives a reliable, single-rise lift.
- 360ml Warm Milk or Unsweetened Almond Milk (1 ½ cups at 105°F–110°F): Adds richness and activates the yeast.
- 25g Raw Honey or Pure Maple Syrup (1 ½ tablespoons): Feeds the yeast and encourages Maillard browning on the crust.
- 2 Large Pasture-Raised Eggs (room temperature): Albumen protein sets in the oven to prevent the loaf from collapsing as it cools.
- 40g Melted Unsalted Butter or Extra-Virgin Olive Oil (3 tablespoons): Enriches the crumb and extends shelf life.
- 1 tablespoon Apple Cider Vinegar: A natural dough conditioner that strengthens the starch-protein matrix.
- 9g Fine Sea Salt (1 ½ teaspoons): Balances sweetness and sharpens the savory bread flavor.
Step-by-Step Instructions for Bakery-Quality Bread
Step 1: Bloom the Yeast and Hydrate the Psyllium Gel
In a medium glass measuring pitcher, whisk together the warm milk (105°F–110°F), raw honey, and instant yeast. Let it sit for 5 minutes until a creamy, fragrant foam forms across the surface. Next, whisk the whole blonde psyllium husk directly into the yeast mixture. Within 60 seconds, you will watch it transform into a thick, jelly-like mixture. Do not panic—this gel is the magic that gives your bread its chew!
Step 2: Whisk the Dry Flours and Starches
In the bowl of a stand mixer fitted with the paddle attachment (not the dough hook, as gluten-free dough mixes better with a flat paddle), whisk together the fine brown rice flour, sorghum flour, tapioca starch, potato starch, xanthan gum, and fine sea salt until completely uniform and lump-free.
Step 3: Mix to Build Viscoelastic Structure
Pour the psyllium-yeast gel, room-temperature eggs, melted butter (or olive oil), and apple cider vinegar into the dry ingredients. Mix on low speed for 30 seconds until combined, then scrape down the sides of the bowl with a silicone spatula. Increase the mixer speed to medium-high and beat continuously for 4 full minutes. The dough will pull away slightly from the sides of the bowl and look smooth, glossy, and cohesive—much thicker than cake batter, yet slightly softer than traditional wheat bread dough.
Step 4: Shape, Score, and Single-Rise Proof
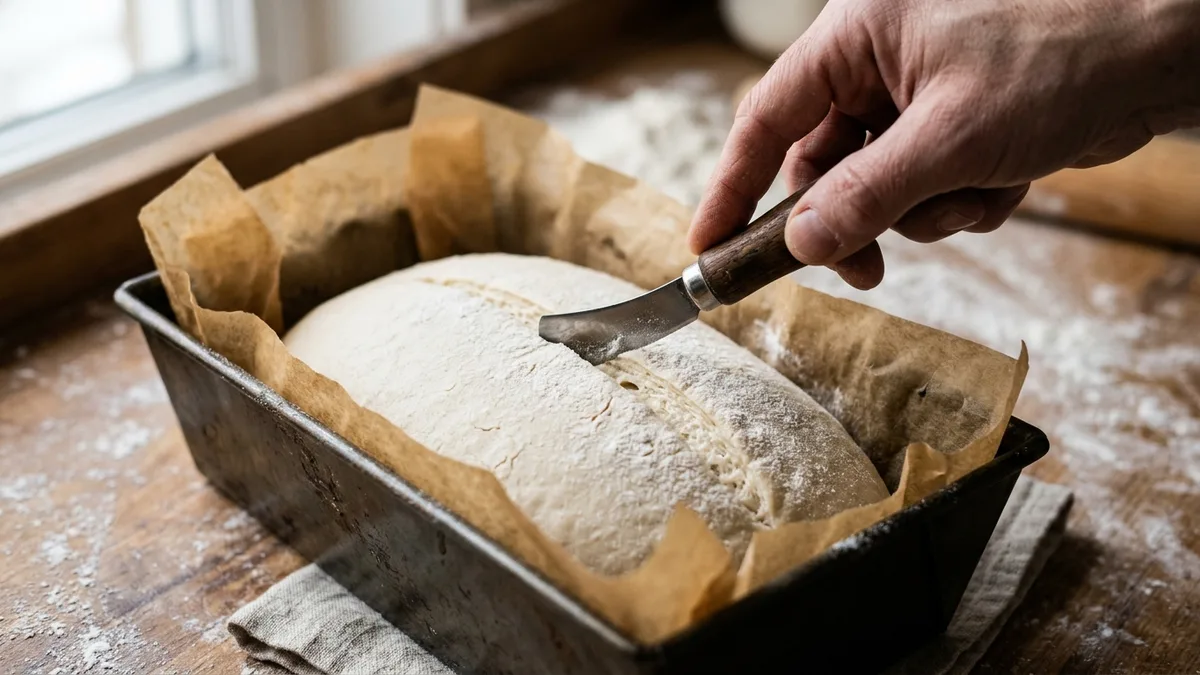
Line a standard 8.5 x 4.5-inch metal loaf pan with a parchment paper sling (metal conducts heat far better than glass or ceramic for gluten-free loaves). Lightly oil your hands or a silicone spatula, transfer the dough into the pan, and smooth the top into an even dome. Remember: in wheat-free baking, the shape of your dough going into the oven is the shape it will bake into, so smooth out any jagged peaks now! Brush the top lightly with warm water or melted butter, and make a single ¼-inch deep lengthwise score down the center with a sharp serrated knife or baker’s lame.
Cover the pan loosely with a tall inverted bowl or greased plastic dome and let it rise in a warm, draft-free spot (around 80°F) for 45 to 60 minutes, until the dough crowns roughly 1 inch above the rim of the pan. Avoid over-proofing—if the dough rises too high before baking, the air pockets will burst in the oven.
Step 5: Bake with Steam and Cool Completely
Preheat your oven to 400°F (200°C) and place a small cast-iron skillet or metal baking pan on the bottom rack. Once the loaf has finished proofing, slide it onto the center rack and carefully pour 4 to 5 ice cubes into the hot skillet below to create a burst of bakery steam, immediately shutting the oven door. Bake for 45 to 50 minutes until the crust is deep golden brown and an instant-read thermometer inserted into the center reads 208°F to 210°F (98°C).
Crucial Baker’s Rule: Lift the loaf out of the pan immediately using the parchment sling and place it on a wire cooling rack. Wait at least 2 full hours until the loaf is 100% cool to room temperature before slicing! As gluten-free starches cool, they undergo retrogradation—setting the crumb structure and releasing excess steam. Slicing while hot will compress the starches and make the interior feel gummy.
Pro Tips for Troubleshooting Your Loaf
| Common Issue | Why It Happens | How to Fix It Next Time |
|---|---|---|
| Dense, Gummy Bottom Layer | Sliced while still warm, or baked in a glass pan that insulated the bottom. | Bake in a light-colored aluminized steel pan to 209°F internal temp and cool for 2+ hours on a wire rack. |
| Crumbly Dry Texture | Measured flours with scoops instead of a digital gram scale (too much rice flour). | Weigh every dry ingredient in grams and ensure you use whole blonde psyllium husk. |
| Sunken or Flat Top | Over-proofed during the rise, allowing gas bubbles to escape the starch matrix. | Bake as soon as the loaf rises 1 inch above the pan rim (usually 45–55 minutes). |
Storage, Freezing & Serving Suggestions
Once completely cooled, store your loaf wrapped in a breathable linen bread bag or paper towel inside an airtight container at room temperature for up to 3 days. Avoid refrigerating fresh bread, as cold refrigerator air accelerates starch crystallization and makes gluten-free loaves go stale twice as fast.
For longer storage, slice the entire cooled loaf, place small squares of parchment paper between the slices, and freeze in a heavy-duty freezer bag for up to 3 months. You can pop frozen slices straight into the toaster for warm morning toast topped with salted butter, flaky sea salt, and raw wildflower honey, or use them to build hearty sandwiches all week long.
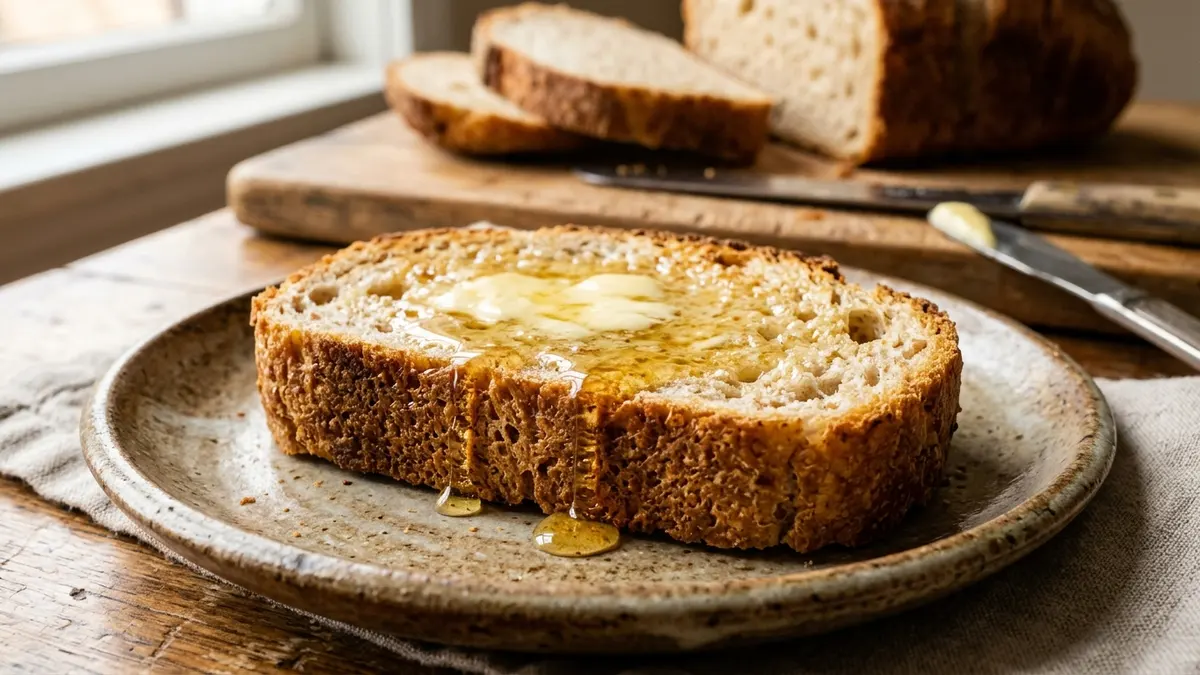
There is truly nothing more rewarding than hearing the crackle of a golden crust and slicing into a soft, aromatic loaf you baked from scratch—completely free of wheat and gluten, yet bursting with real bakery flavor and texture.